Edinburgh RoofingSpecialists
Request assessment

What to do when a roof leaks

Deal with hazards and protect the room first. Gather a short timeline and safe photographs only after people are clear of wet electrics, unstable ceilings and falling material.

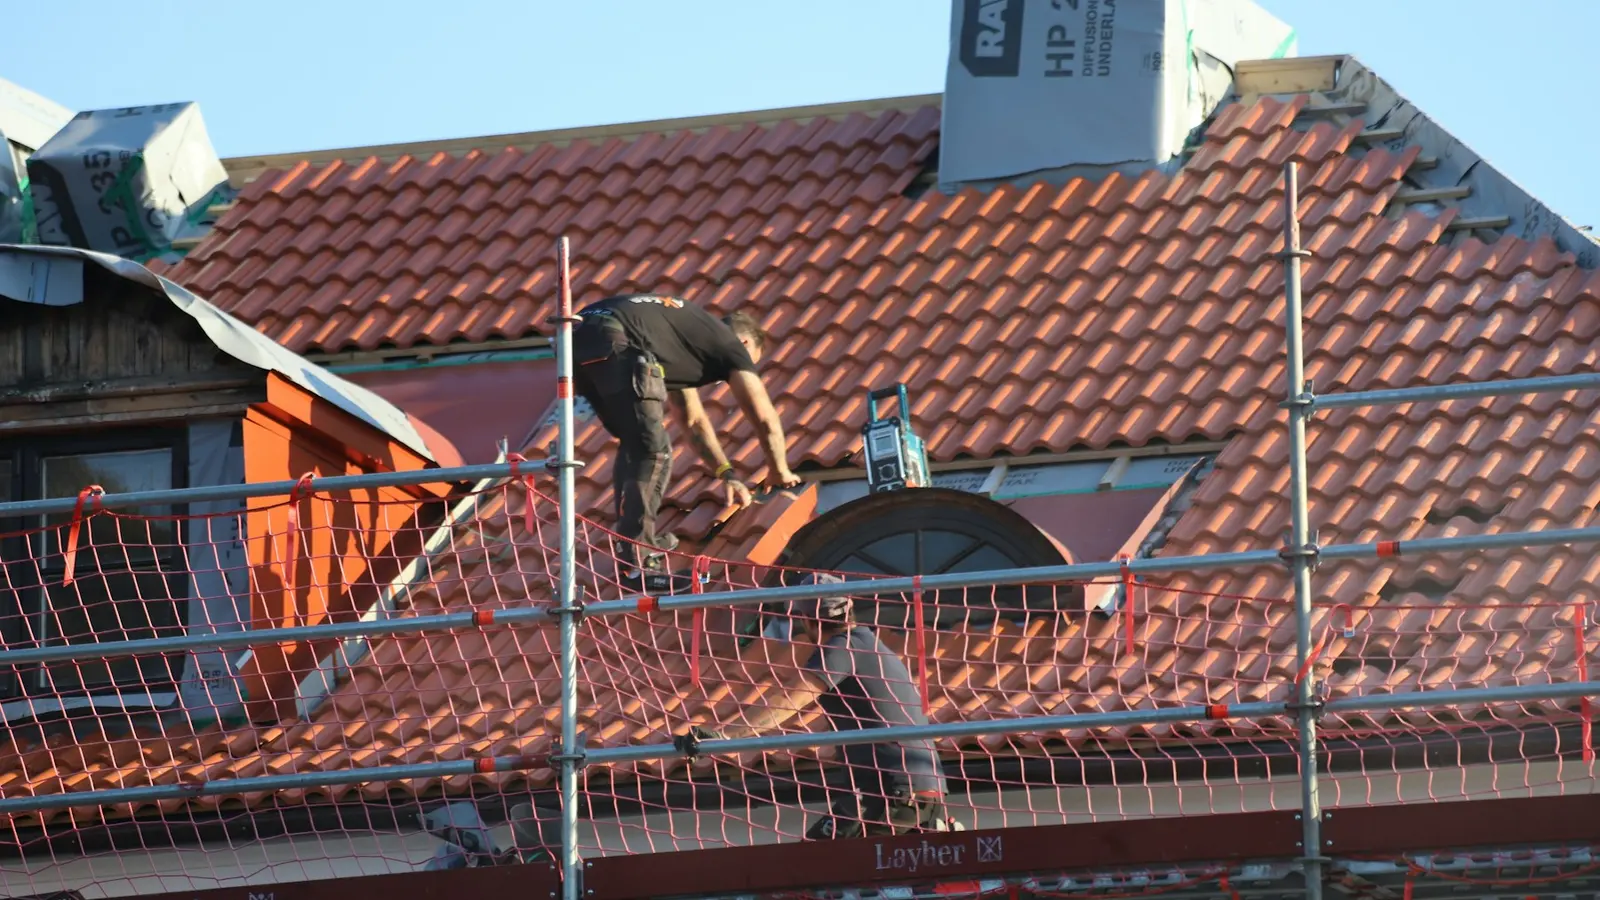
Roofing workers using secured access on a pitched roof
Roof assessment

1. Make the area safe

Keep away from electricity, sagging ceilings and falling material

Move people and pets away from the affected area. Do not touch wet light fittings, sockets or electrical equipment, and do not stand beneath a ceiling that is bulging, cracking or shedding material. If there is an immediate danger to people or the public, use the appropriate emergency or utility route rather than waiting for a routine website enquiry.

  • Keep the affected room or area clear.
  • Switch nothing electrical on or off in a wet area.
  • Do not puncture a ceiling or remove building material.
2. Limit interior damage

Contain only a simple drip that can be reached safely from the floor

When there is no electrical, ceiling or falling-material hazard, place a stable container beneath a straightforward drip and move portable belongings away from the wet area. Use towels or protective sheeting on the floor if this can be done without reaching overhead. Do not enter an unsafe loft or dismantle ceiling finishes to look for the source.

  • Use a container on a stable, level surface.
  • Move documents and soft furnishings to a dry room.
  • Stop if the ceiling changes shape or the hazard increases.
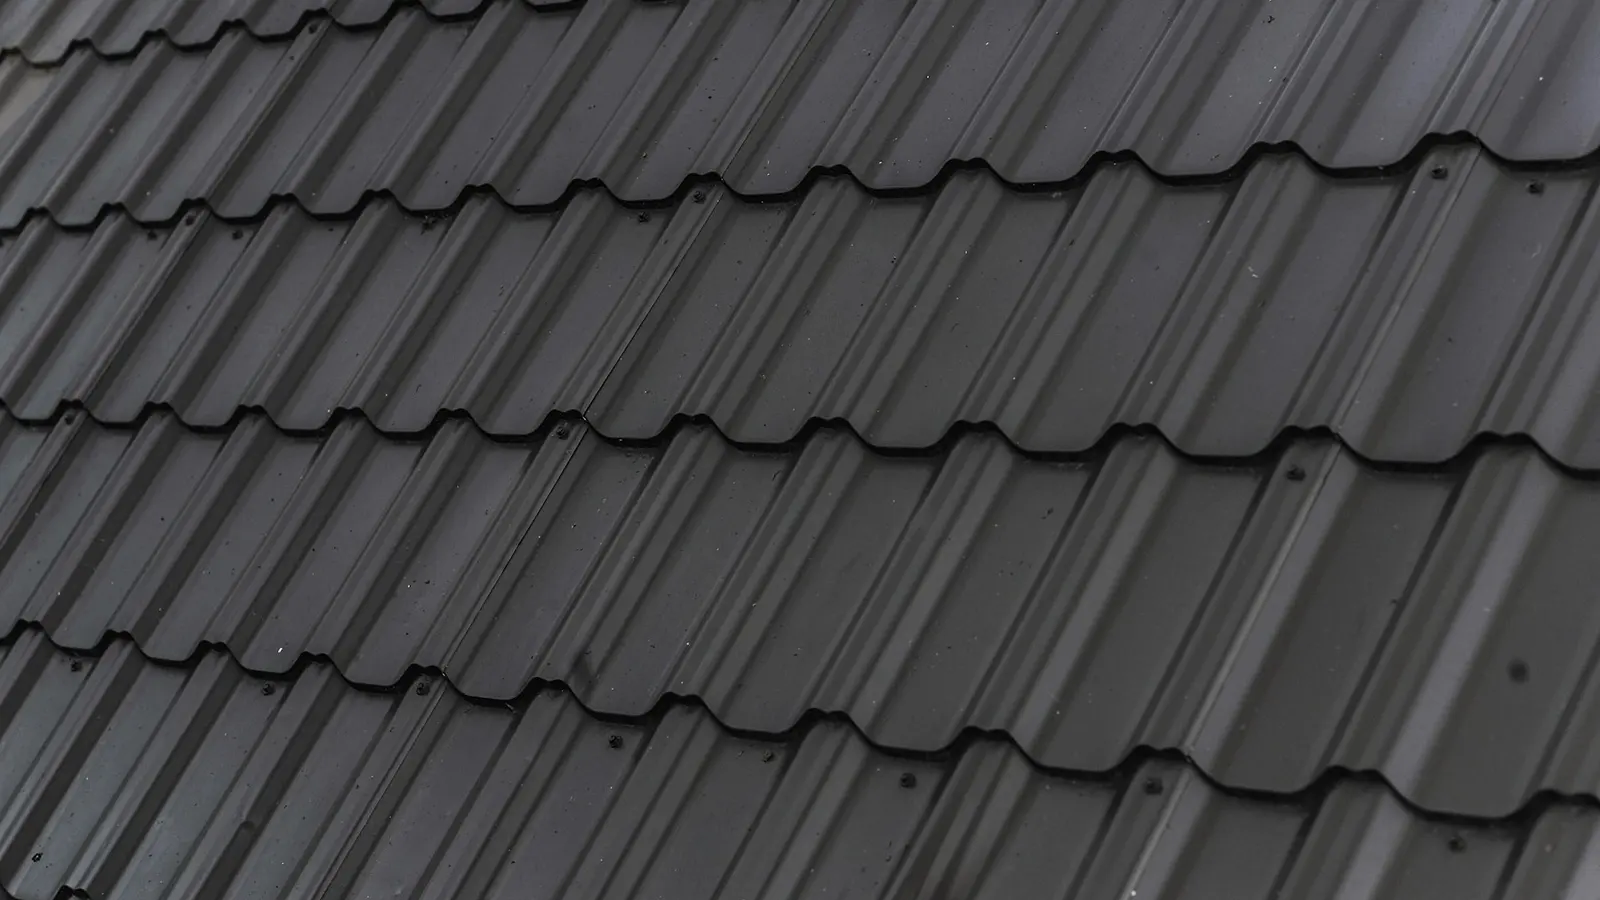
Close view of overlapping pitched-roof tiles and junctions
Roof covering
Edinburgh Old Town roofscape viewed across the city
Edinburgh roofs

3. Record the pattern

Note timing, weather and location without diagnosing the cause

Write down when water first appeared, whether it starts immediately or after prolonged rain, and whether wind direction seems relevant. Photograph the whole room, then the affected area, and identify the floor and elevation. A water mark can sit some distance from the entry point, so avoid naming a failed slate, flashing or pipe without evidence.

  • Use date and time in the notes.
  • Keep a wide view before close-up images.
  • Record changes after rain stops as well as during rainfall.

4. Request an assessment

Send the issue, property, access and contact details together

The roof assessment form collects the main concern, observed signs, postcode, property type, access notes and a description of what happened. If photographs are needed, they can be requested through an approved follow-up route. Do not climb onto the roof, use a ladder or lean from a window to improve the evidence.

  • Identify shared ownership or factor involvement.
  • Mention previous repairs only when records are available.
  • Keep temporary containment separate from a permanent repair decision.
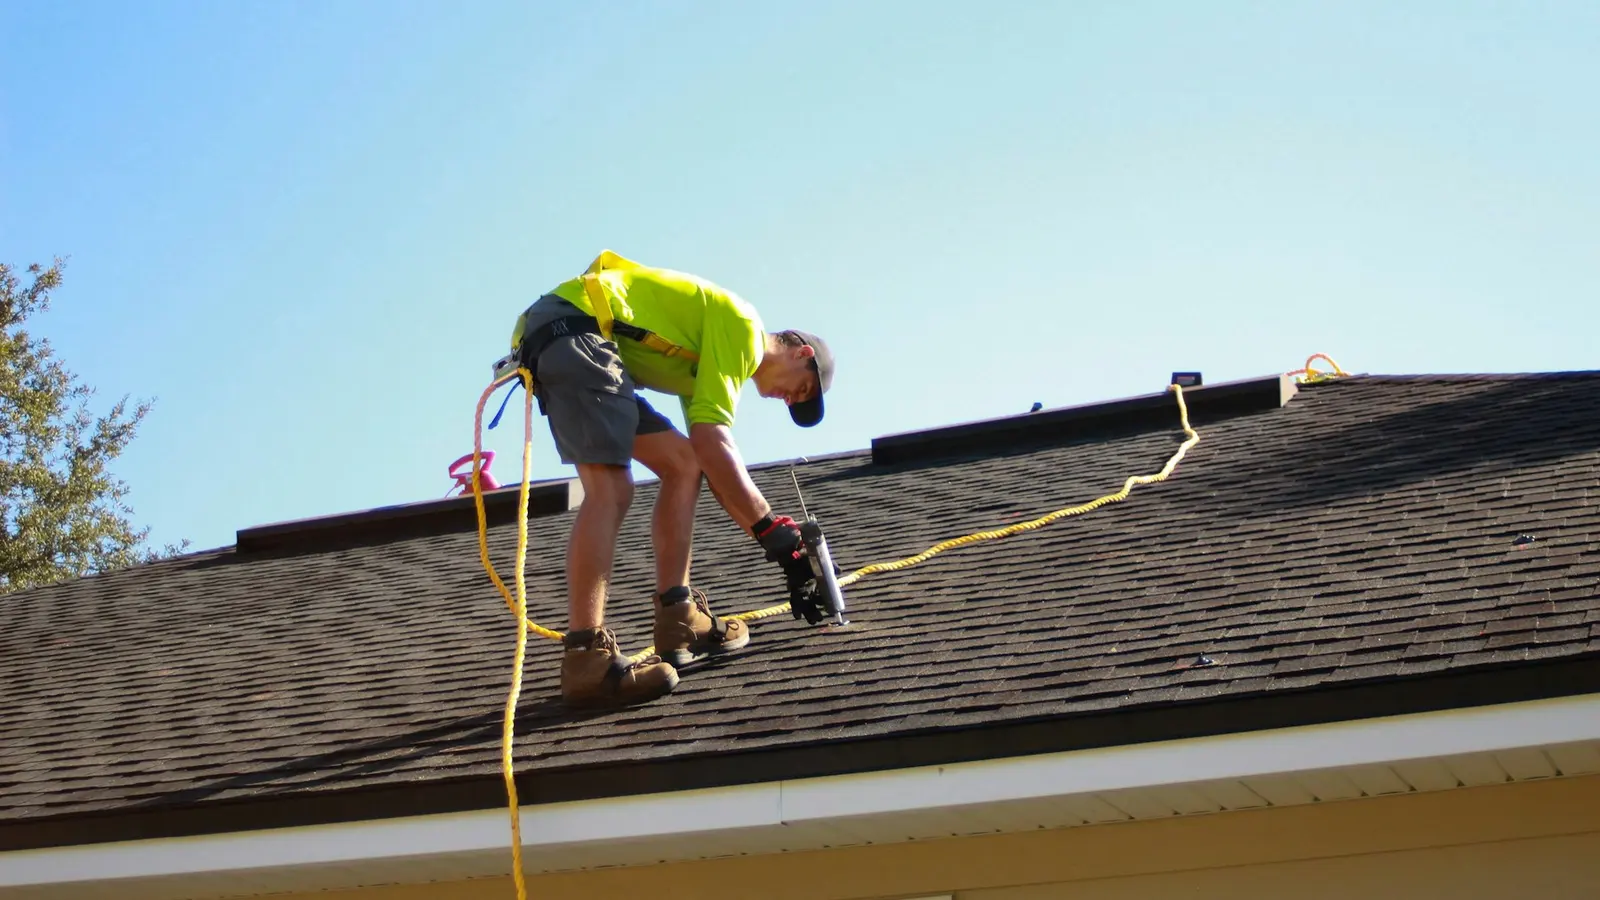
Worker examining a roof from secured access equipment
Safe access

Practical answers

Questions before an assessment

Should I make a hole in a bulging ceiling to release water?

No. Keep clear of a bulging or unstable ceiling and seek an appropriate urgent safety response. This guide does not instruct ceiling work.

Can I enter the loft to find the leak?

Do not enter if there are wet electrics, unstable flooring, falling material or any doubt about safety. Roof and fragile-surface risks require controlled assessment.

Does the position of the drip show where the roof failed?

Not reliably. Water can travel along materials and junctions before appearing inside, so the surrounding roof area may need assessment.

Next step

Ready to prepare the roof enquiry?

Request assessment

Tell us what you have noticed

Six short steps collect the details needed to route a roofing enquiry. Stay at ground level and never climb onto a roof to gather information.

Step 1 of 1