Edinburgh RoofingSpecialists
Request assessment

Roof repair photo checklist

A useful photo set shows location and sequence. It does not need a risky close-up: stay on normal floors, at ground level or at a safely used window position.

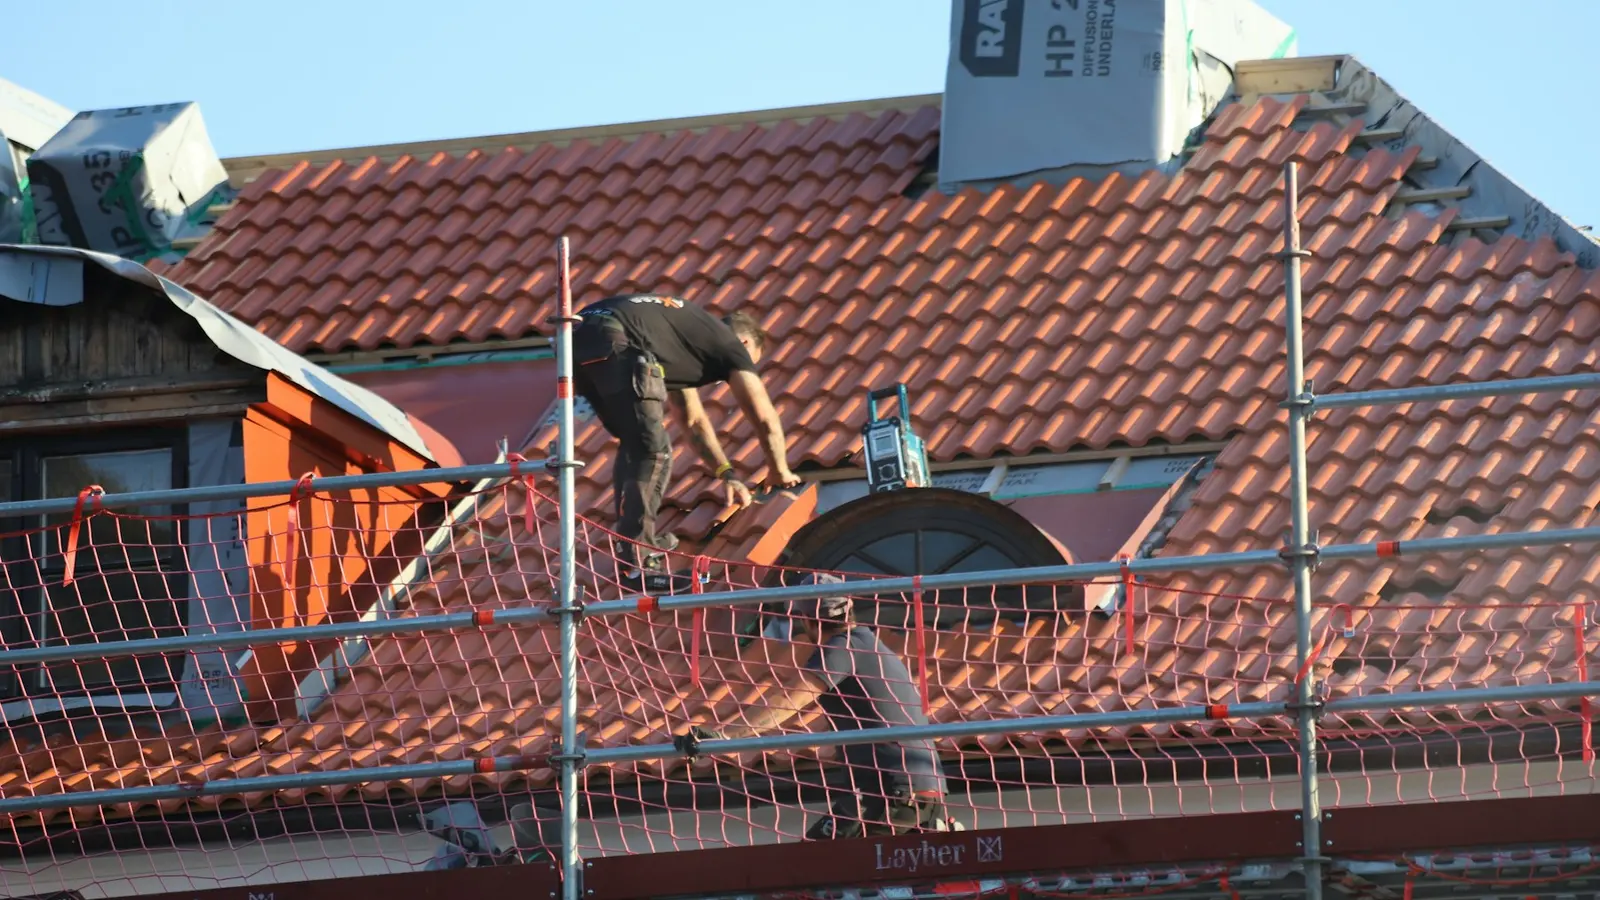
Worker examining a roof from secured access equipment
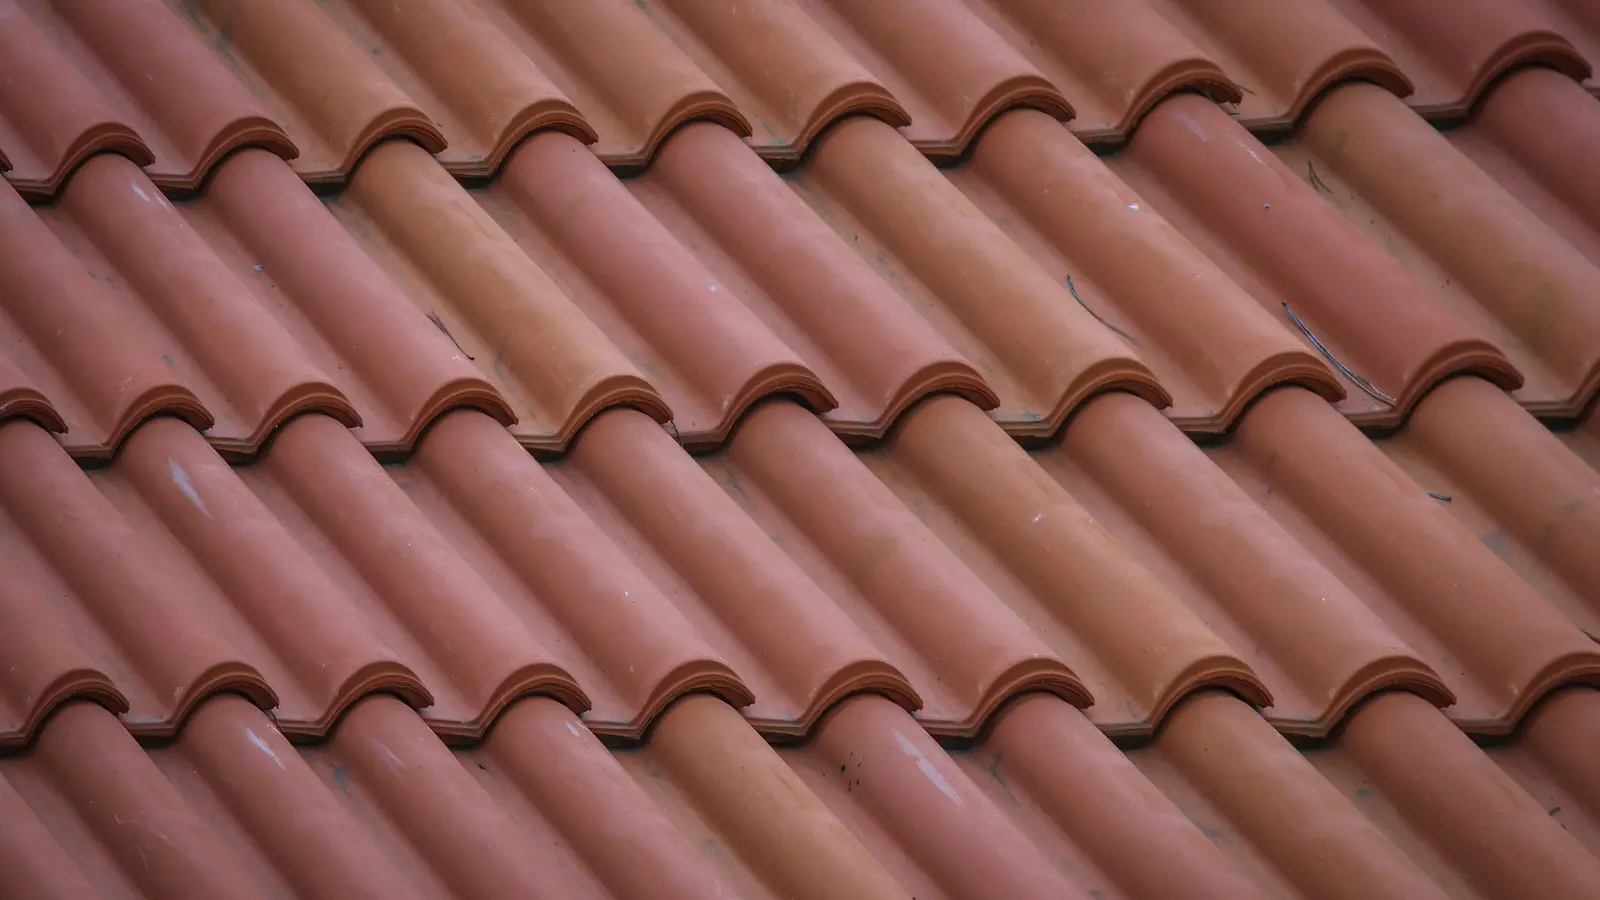
Close view of overlapping pitched-roof tiles and junctions
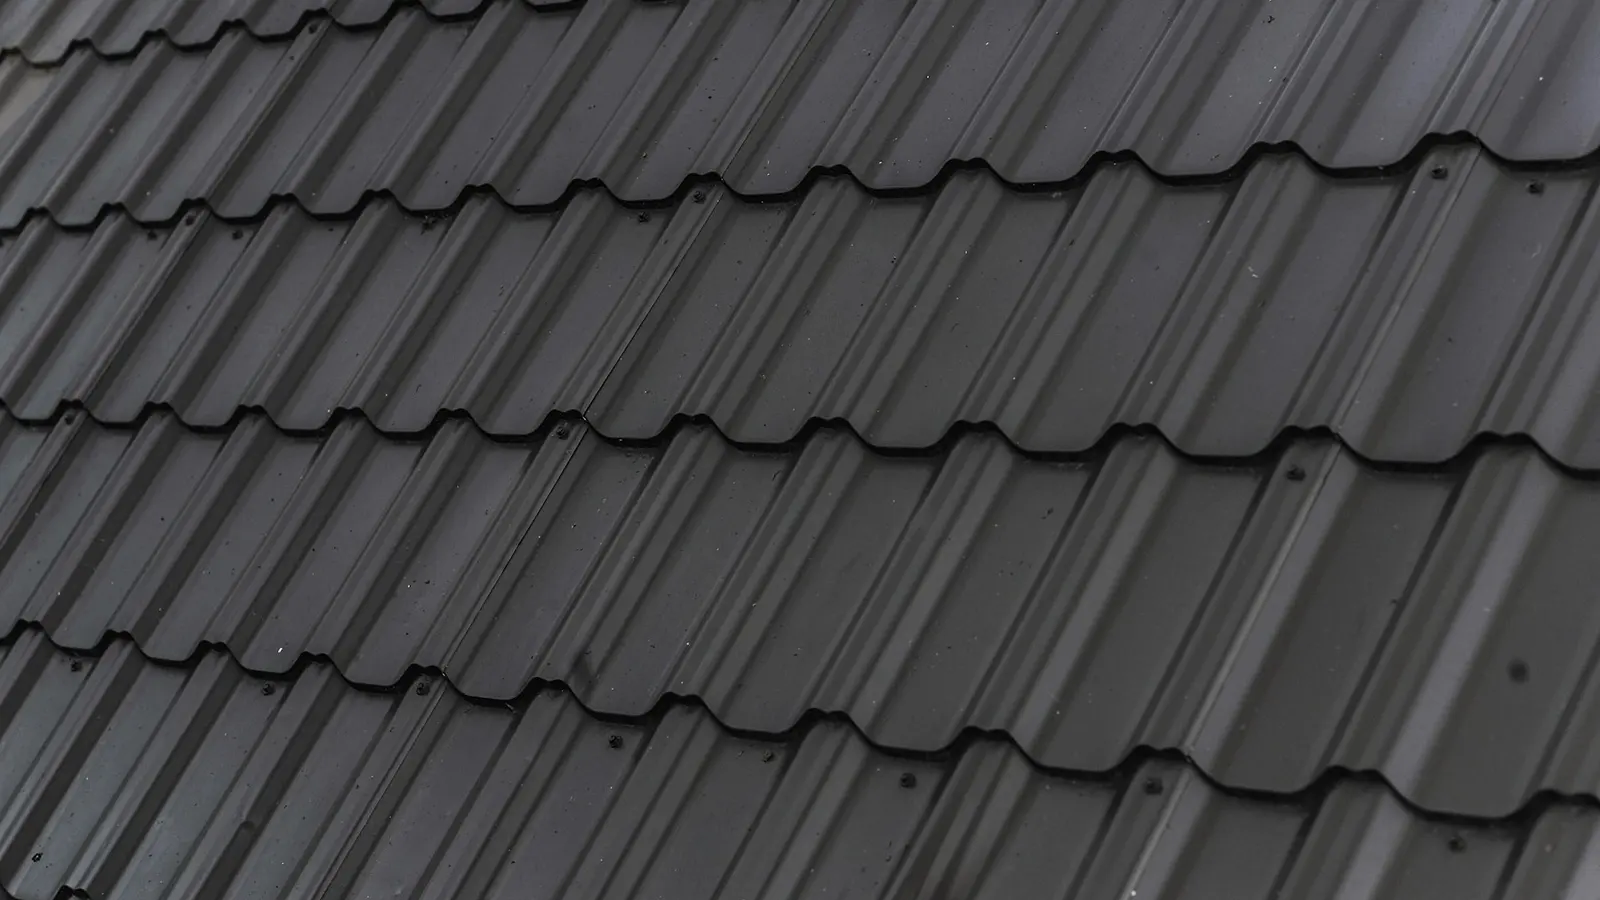
Roof covering

Interior sequence

Start wide, then show the affected surface and nearby features

Take one image from the doorway so the room and wall or ceiling position are clear. Follow with a closer image of staining, blistering or damage, then include a fixed reference such as the window, chimney breast or light fitting from a safe distance. Do not stand beneath unstable material or touch wet electrical fittings to improve the photograph.

  • Keep the first image wide enough to identify the room.
  • Use natural scale references without placing objects overhead.
  • Photograph changes over time from the same position.

Exterior context

Use ground level or a normal window, never a ladder or roof

A wide exterior image should show the whole elevation, roof edge and nearby junctions. A second image may frame the visible area more closely if normal optical zoom is sufficient. Do not lean out, climb a boundary wall, step onto a flat roof or use adjoining property to obtain a different angle.

  • Label front, rear or side elevation.
  • Include chimneys, valleys, outlets and downpipes in context.
  • Accept distance rather than creating a work-at-height risk.
Edinburgh Old Town roofscape viewed across the city
Edinburgh roofs
Pitched roof edge, gutter and eaves viewed from ground level
Water route

Debris and drainage

Fallen material and overflow should only be viewed from a safe position

If a fragment has already landed in a safe area, photograph it in place before moving it and include both sides beside a ruler where practical. During rain, a short sheltered video can show gutter overflow or downpipe discharge. Keep away from the area directly below loose roofline material and do not handle sharp or contaminated debris.

  • Do not enter an exclusion area for a better image.
  • Keep original files with capture date intact.
  • Note which address and elevation each file shows.

Send with context

Pair each image set with a short written timeline

Photographs are easier to interpret when the enquiry states the property type, floor, affected room, date, weather pattern and previous relevant work. Avoid drawing arrows that cover the evidence; provide an annotated copy while retaining the original. Images can support routing but cannot confirm concealed construction or diagnose a defect by themselves.

  • Use descriptive file names such as rear-bedroom-wide.
  • Keep originals and any annotated copies together.
  • Do not include faces, neighbour interiors or unrelated personal data.
Worker examining a roof from secured access equipment
Safe access

Practical answers

Questions before an assessment

How many photographs should I take?

A small ordered set is usually clearer than many repeated images: wide interior, close interior, wide exterior and any safe contextual detail.

Should I use a drone?

Do not arrange or operate equipment based on this guide. Any aerial work needs appropriate legal, privacy, competence and safety arrangements.

Can photographs replace a roof inspection?

No. They may support triage and scope discussions, but cannot show every concealed, inaccessible or fragile element.

Next step

Ready to prepare the roof enquiry?

Request assessment

Tell us what you have noticed

Six short steps collect the details needed to route a roofing enquiry. Stay at ground level and never climb onto a roof to gather information.

Step 1 of 1